Master Your Pickleball Skills Anytime: 8 Easy Steps to Build Your Own Practice Wall
Introduction
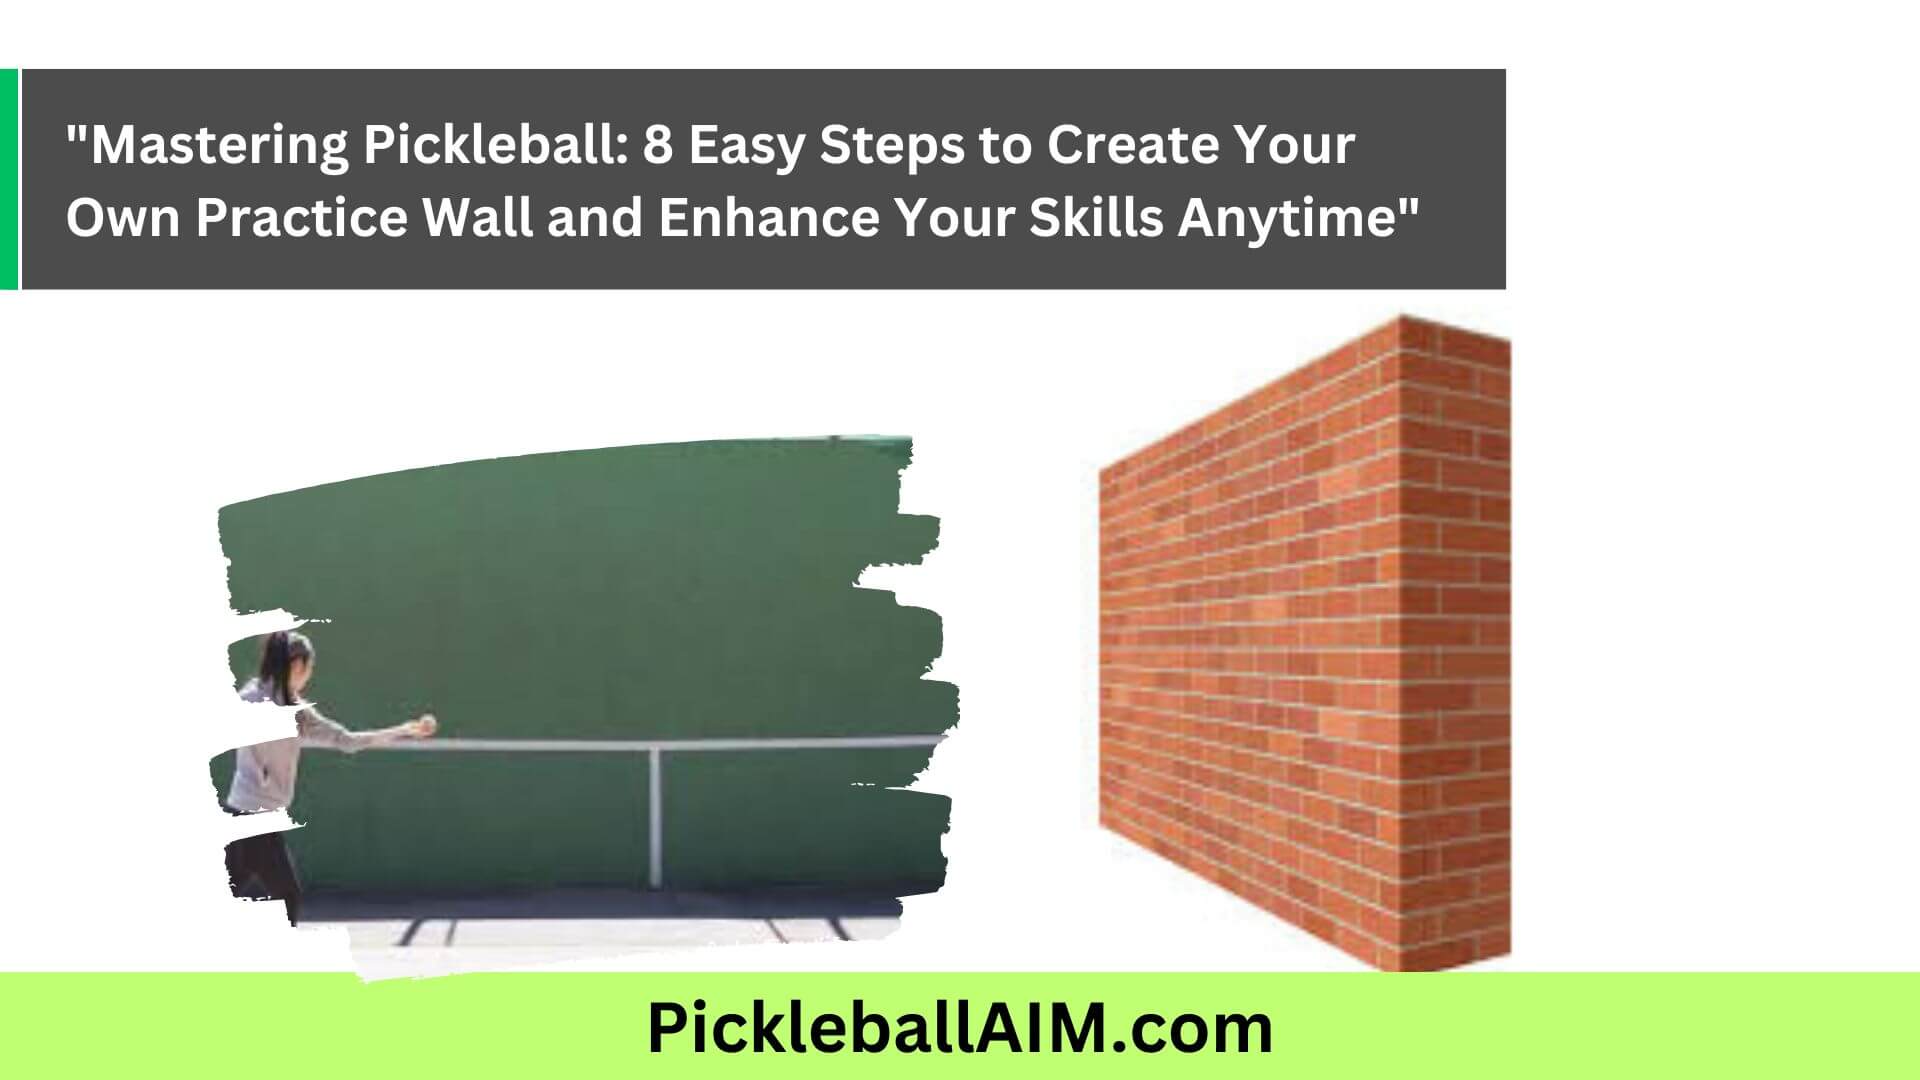
Pickleball enthusiasts are constantly seeking ways to improve their skills and elevate their game on the court. While practicing with fellow players is valuable, having access to a pickleball practice wall offers a unique advantage. A practice wall allows players to fine-tune their shots, work on footwork, and enhance their techniques at their convenience, without the need for a partner. In this guide, we will take you through the step-by-step process of creating your very own pickleball practice wall. With this valuable training tool, you can hone your skills anytime and master various aspects of the game, leading to a more confident and competitive performance on the pickleball court. Let’s get started on the journey to becoming a better pickleball player with your very own practice wall!
While playing with others is an excellent way to improve your game, having access to a pickleball practice wall can be a game-changer for refining your skills and honing specific techniques. A practice wall allows you to practice alone, anytime you want, without the need for a partner. In this article, we will guide you through the steps to create your very own pickleball practice wall, enabling you to enhance your skills and elevate your game at your convenience.
Step 1: Find the Perfect Location
The first step in making a pickleball practice wall is finding the ideal location for it. Look for a flat and open space with enough clearance for you to practice your shots freely. The wall can be a section of your garage, an exterior wall, or any suitable area where you can install the practice surface.
Step 2: Gather Materials
To build a pickleball practice wall, you will need the following materials:
- Plywood or Masonite sheets: Choose a sturdy material to create the practice surface. Plywood or Masonite sheets work well for this purpose.
- Lumber or plywood frame: Construct a frame to attach the practice surface securely. Lumber or additional plywood can be used to create the frame.
- Nails or screws: Use nails or screws to assemble the frame and attach the practice surface securely.
- Paint or tape: To mark the pickleball court lines on the practice surface, you can use paint or tape to delineate the non-volley zone, service boxes, and baseline.
Step 3: Build the Practice Surface
Start by building the frame for the practice wall using lumber or plywood. The size of the frame will depend on the available space and your preference. Ensure the frame is sturdy and firmly anchored to the wall.
Next, attach the plywood or Masonite sheets to the frame using nails or screws. Make sure the surface is flat and smooth to provide a consistent bounce for your shots.
Step 4: Mark the Court Lines
Using paint or tape, mark the court lines on the practice surface. Include the non-volley zone (kitchen), service boxes, and baseline to replicate a standard pickleball court. This will allow you to practice serving, dinking, and other shots accurately.
Step 5: Create Target Zones
For more focused practice, consider adding target zones to the practice wall. Use colored tape or paint to mark specific areas on the surface, such as target squares or circles. Practicing hitting shots into these target zones will improve your shot accuracy and consistency.
Step 6: Utilize the Practice Wall for Skill Development
Now that your pickleball practice wall is ready, it’s time to take advantage of this valuable training tool. Use the wall to practice a variety of shots, including volleys, groundstrokes, dinks, and lobs. Work on your footwork, positioning, and shot placement as you hit the ball against the wall and receive it back.
Step 7: Mix in Drills and Challenges
To add variety to your practice sessions, incorporate drills and challenges into your practice routine. You can set specific goals, such as hitting a certain number of volleys into a target zone or practicing different shot combinations in succession. This will keep your practice engaging and help you improve different aspects of your game.
Step 8: Stay Consistent and Track Progress
Consistency is key to improvement. Set aside regular practice time with the wall to work on your skills. Keep track of your progress, noting areas of improvement and identifying any weaknesses that need more attention. As you track your progress, you’ll see tangible improvements in your game over time.
Conclusion
Having a pickleball practice wall at your disposal is a valuable asset for players looking to enhance their skills and take their game to the next level. With dedication, practice, and a well-structured training routine, you can significantly improve your shot accuracy, footwork, and overall gameplay. The convenience of practicing anytime and the ability to focus on specific aspects of your game make the pickleball practice wall an essential tool for players seeking continuous improvement in their pickleball journey. So, get ready to serve, volley, and dink your way to becoming a better pickleball player with your very own practice wall!




One Comment